How to clean vinyl by hand with GrooveWasher G2
For an ordinary vinyl LP with loose dust or fingerprints, a manual cleaning pad and a fluid made for that method can be enough equipment to start. Prepare the clean surface and drying space first, protect the label, then work on one side at a time. Put the record away only when it is completely dry.
The routine below uses GrooveWasher G2 fluid with its matching cleaning pad, off the turntable. It gives us one complete manufacturer-documented procedure, including how to remove the fluid and dry the record. This guide covers routine care of vinyl, not mould treatment or restoration of damaged discs.*1
Confirm the material and inspect for damage
A black grooved disc isn't necessarily vinyl. Historical records were made from shellac compounds and other materials; an “acetate” or lacquer disc has a different construction again. GrooveWasher limits its fluids to modern vinyl and specifically advises against using them on 78s. Keep unknown materials out of this routine.*2
Before wetting anything, look for cracks, a badly distorted edge, flaking or lifting surfaces, and suspicious growth. Stop if you see these, or if the sleeve has stuck to the record. A white deposit is not enough to identify mould: the Canadian Conservation Institute documents degraded lacquer discs with surface deposits too. Get the material and condition assessed rather than trying a stronger bottle.*3
Prepare one clean direction of travel
Clear enough space for the dirty record, the cleaning station and the finished record. Keep the jacket and original inner away from the spray area. The cleaned side should never have to go back onto the dusty surface where you first put the record down.
Have these ready:
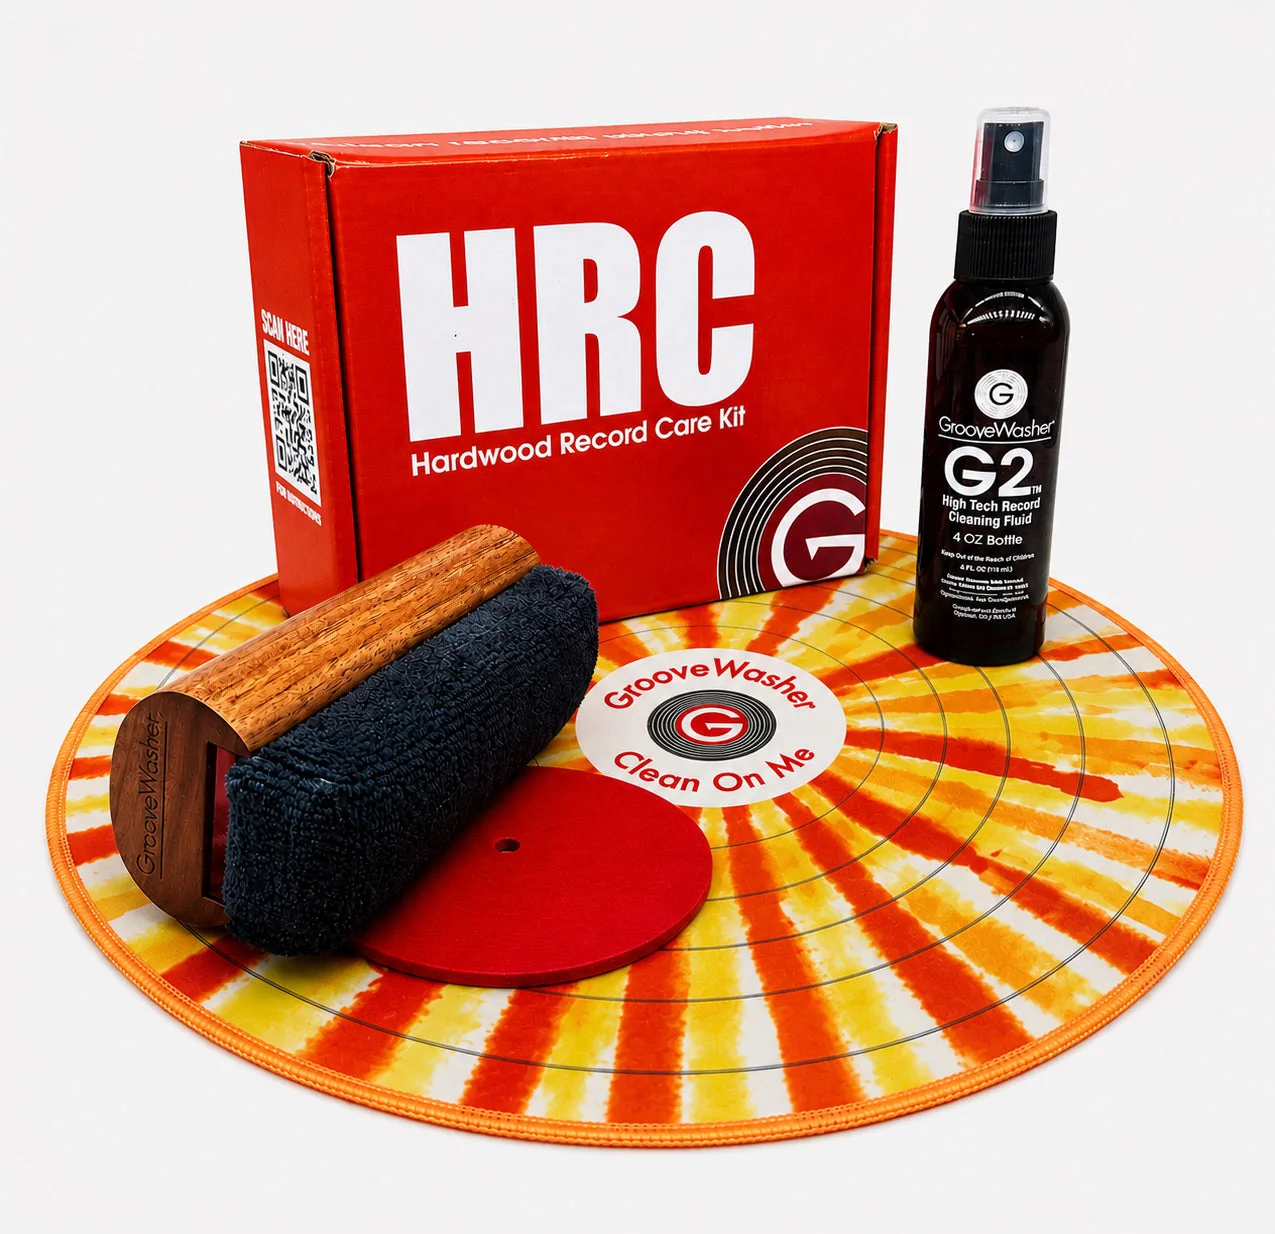
- G2 mist-spray fluid and a clean GrooveWasher cleaning pad with handle.
- The record-label protector mask.
- A clean, soft record-cleaning mat on a firm, level surface, plus a clean surface for the other side.
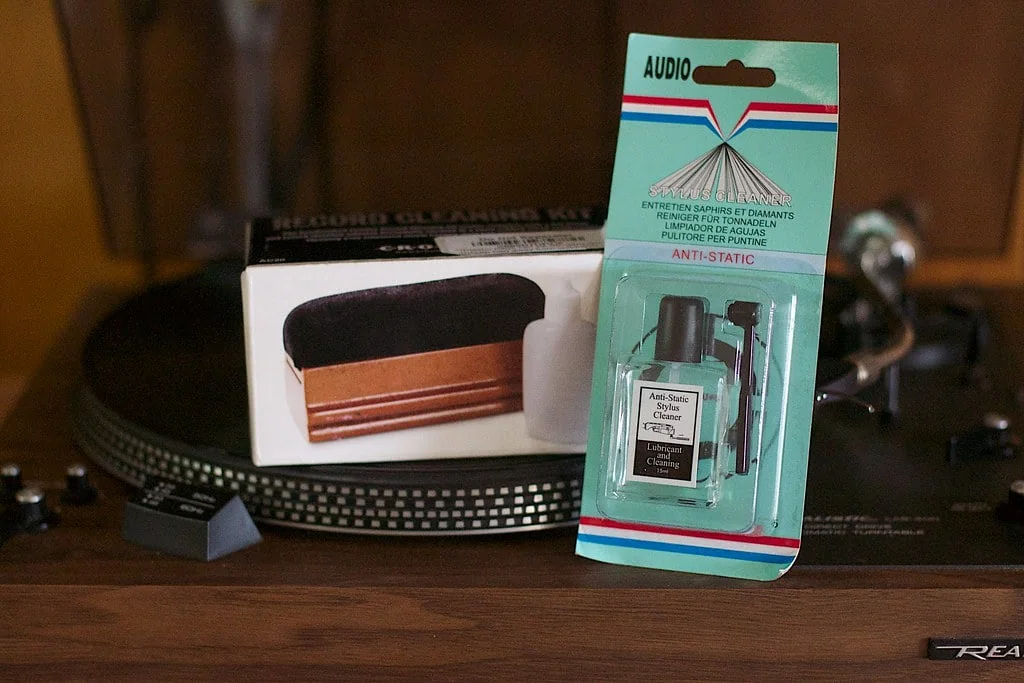
- A suitable record brush for loose dust.
- A clean, stable record-drying support and a fresh inner sleeve.
- Access to a sink, laundry detergent and a clean towel for washing the pad afterwards.
The hardwood kit supplies the fluid, pad, label mask and a cleaning mat. Check the contents of the particular kit you buy.*4
Wash and dry your hands, then handle the disc by its edge and label area. Inspect the pad and mat before they touch it. If either has picked up grit, replace or clean it first. Read the fluid's label precautions and keep the work area clear of food and drink.
Remove loose particles first
With the record supported, gently move a suitable dry record brush along the grooves to collect loose dust. Keep pressure light. The Vinyl Record Manufacturers Association puts this step before applying liquid.*5
Inspect both sides before setting either on the cleaning mat. A dry brush is the preliminary pass, not an invitation to grind at a stuck spot. Put it aside when finished so it doesn't get confused with the wet cleaning pad.
Apply G2 while protecting the label
Lay the first side upwards on the clean mat and cover the label with the mask. GrooveWasher supplies that mask to keep spray off the paper centre. It is a spray shield, not a reason to immerse the disc.*6
For the off-turntable method, GrooveWasher specifies four to six mist sprays, enough to cover the playing surface, followed by 10–20 seconds or more of contact time. Aim at the grooves and keep the mask in position.*1
Keep the mat flat and the bottle upright. If liquid is running towards the paper label or off the record, stop adding it. The task is controlled contact with the playing surface, not filling a bath.
Brush without grinding dirt back in
Use the pad's leading edge gently around the disc in circles that follow the grooves. Then rock and rotate the pad to take up the fluid with its other areas. Avoid strokes across the grooves. These are the manufacturer's actions for this pad and fluid.*1
Look at the record and the pad before another pass. If visible contamination is loading the pad, stop and clean or change it. Pressing harder with the same dirty surface gives you less control over what touches the record.
Turn the disc over onto a clean support surface and repeat on the second side. A spare clean mat makes that separation straightforward. Keep the used face of the first mat out of the finished area.
G2 needs no separate rinse
G2 does not require a separate rinse when used as directed. Remove the fluid with the pad, then let the record dry.*2
These instructions belong to G2. GrooveWasher's G3 requires a rinse with GSR Super Rinse or distilled water, so read its complete method and prepare separate rinsing tools if you change fluids.*1
Let the record dry completely
After the pad has taken up the fluid, allow the disc to finish air-drying. GrooveWasher gives 30–60 seconds for its off-turntable procedure. Use that as a guide, then inspect both sides; remaining moisture means more drying is needed.*1
A clean, purpose-made rack can hold the disc upright while it finishes drying. Make sure it supports the record securely without hard dividers rubbing across the playing surface. Don't balance a wet LP on its bare edge or lean it against the jacket you have just kept out of the spray area.
Use normal room conditions, away from direct sun or a heater. Handle only the edges and centre when moving it. Never use playback as a drying step, and don't slide a damp disc into a sleeve.
Re-sleeve, then clean the tools
Use a clean inner sleeve, the one that actually holds the disc. A purpose-made polyethylene inner is a suitable option; the Canadian Conservation Institute recommends soft polyethylene sleeves for grooved records. Keep an original printed inner separately with the jacket if it carries artwork or credits.*3
An outer sleeve surrounds the cardboard jacket. Changing that outer doesn't replace a dirty inner. If the outer's material is uncertain, our PVC-sleeve guide explains what to check.
Wash the removable pad before putting the equipment away. Detach it by its base, rinse it under the tap, then apply a few drops of laundry detergent and rub the fabric with your fingers. Rinse it, squeeze it dry with a clean towel and leave it to air-dry overnight, as GrooveWasher instructs. Wash the mat as its instructions allow, and keep the clean tools covered in storage.*7
What cleaning cannot fix
Cleaning cannot rebuild a scratched or worn groove. It also isn't a way to flatten a warp. If the disc still has a fault after ordinary dirt has been removed, don't turn repeated washing into a repair attempt.
When playback leaves deposits on the stylus, pause and inspect rather than carrying on through the side. The stylus-care guide covers that separate job and its cartridge-specific instructions. Persistent contamination calls for a more suitable cleaning service or assessment, not an improvised solvent mixture.
For a few records, the manageable part of hand cleaning is controlling each contact: pad, support, drying rack, inner sleeve. If a growing batch makes those steps awkward to repeat, compare the fluid-removal and drying options in our record-cleaner guide.
Sources and notes
- GrooveWasher: how to use. Off-turntable G2 application, pad movement and drying; the separate G3 rinse requirement. ↩
- GrooveWasher: frequently asked questions. Vinyl-only scope and G2's no-rinse instructions. ↩
- Canadian Conservation Institute: caring for recording media. Disc materials, deteriorating lacquer surfaces, handling and polyethylene enclosures. ↩
- GrooveWasher hardwood record-cleaning kit. Kit contents, mat and fluid-label precautions. ↩
- Vinyl Record Manufacturers Association: cleaning care card, available through its downloads page. Supports the preliminary gentle dry-brush step. ↩
- GrooveWasher record and stylus care system. The label mask protects the paper centre during mist spraying. ↩
- GrooveWasher: pad-care FAQ. Removable-pad washing and overnight drying. ↩