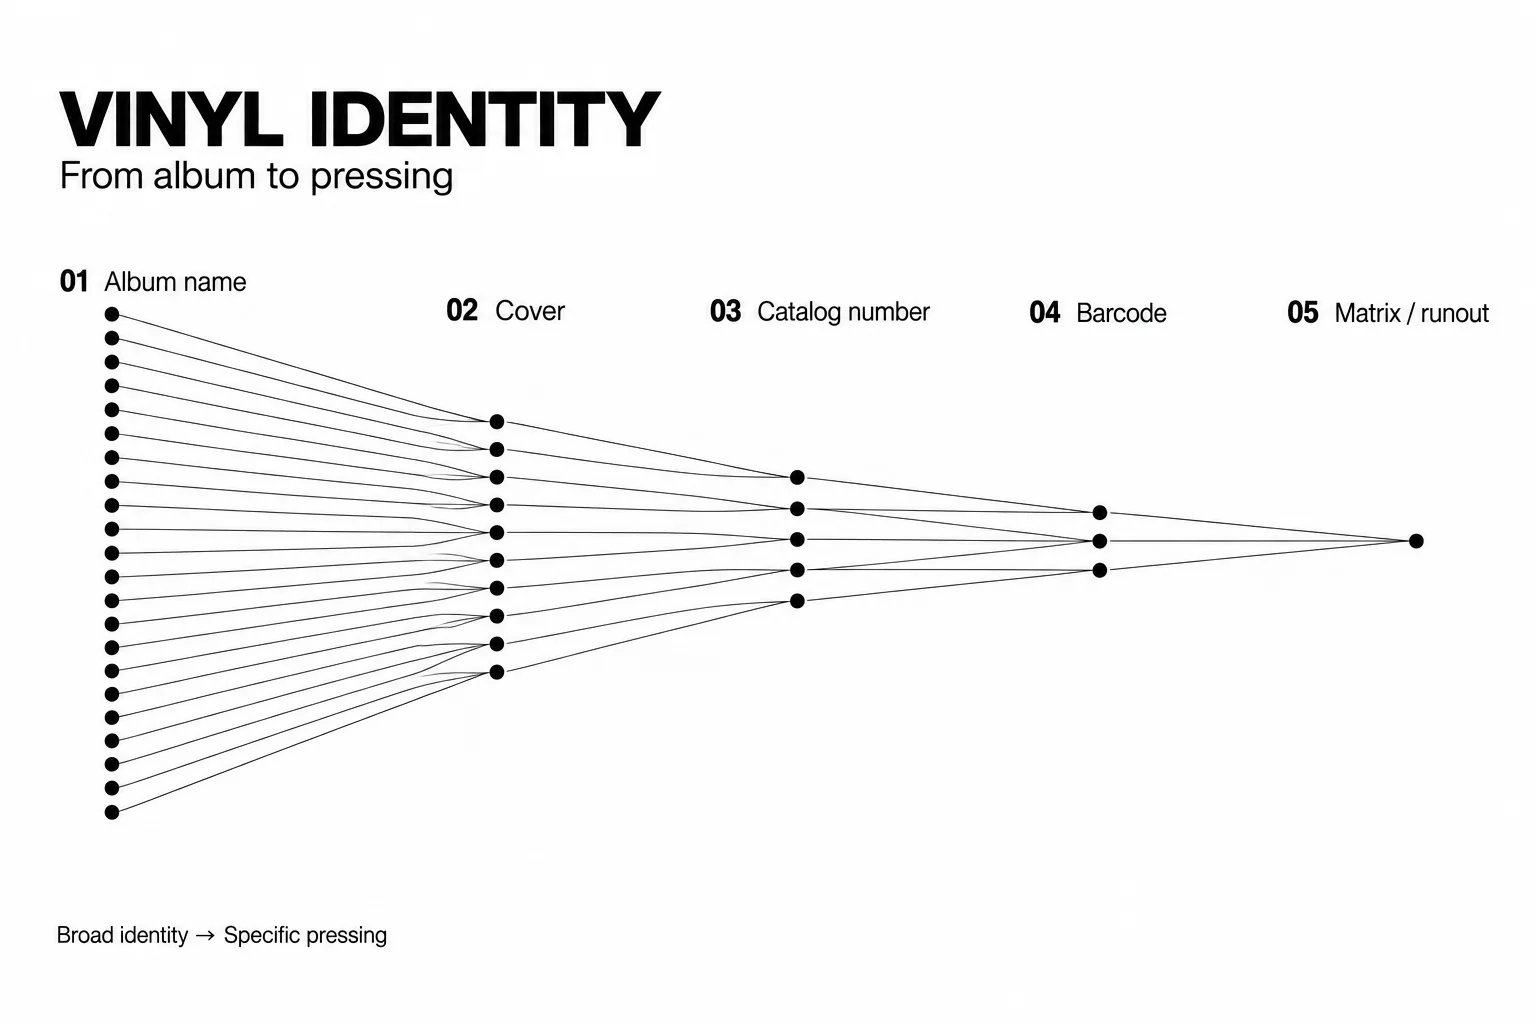
How to identify a vinyl pressing: barcode, catalogue number and deadwax
Start with the barcode or catalogue number on your sleeve, then compare the candidate releases with the record in front of you. Check the labels, packaging and inscriptions beside the centre label. A familiar cover gets you to the album; those details help establish the edition.
Recognising the cover may tell you the album title. Your question is more specific: which edition of that album is this? That distinction matters when you catalogue a collection, replace a damaged copy or check a seller's price.
You don't need to learn the history of every pressing plant first. You need a repeatable order of checks and somewhere to keep the details.
Start with the record on the table
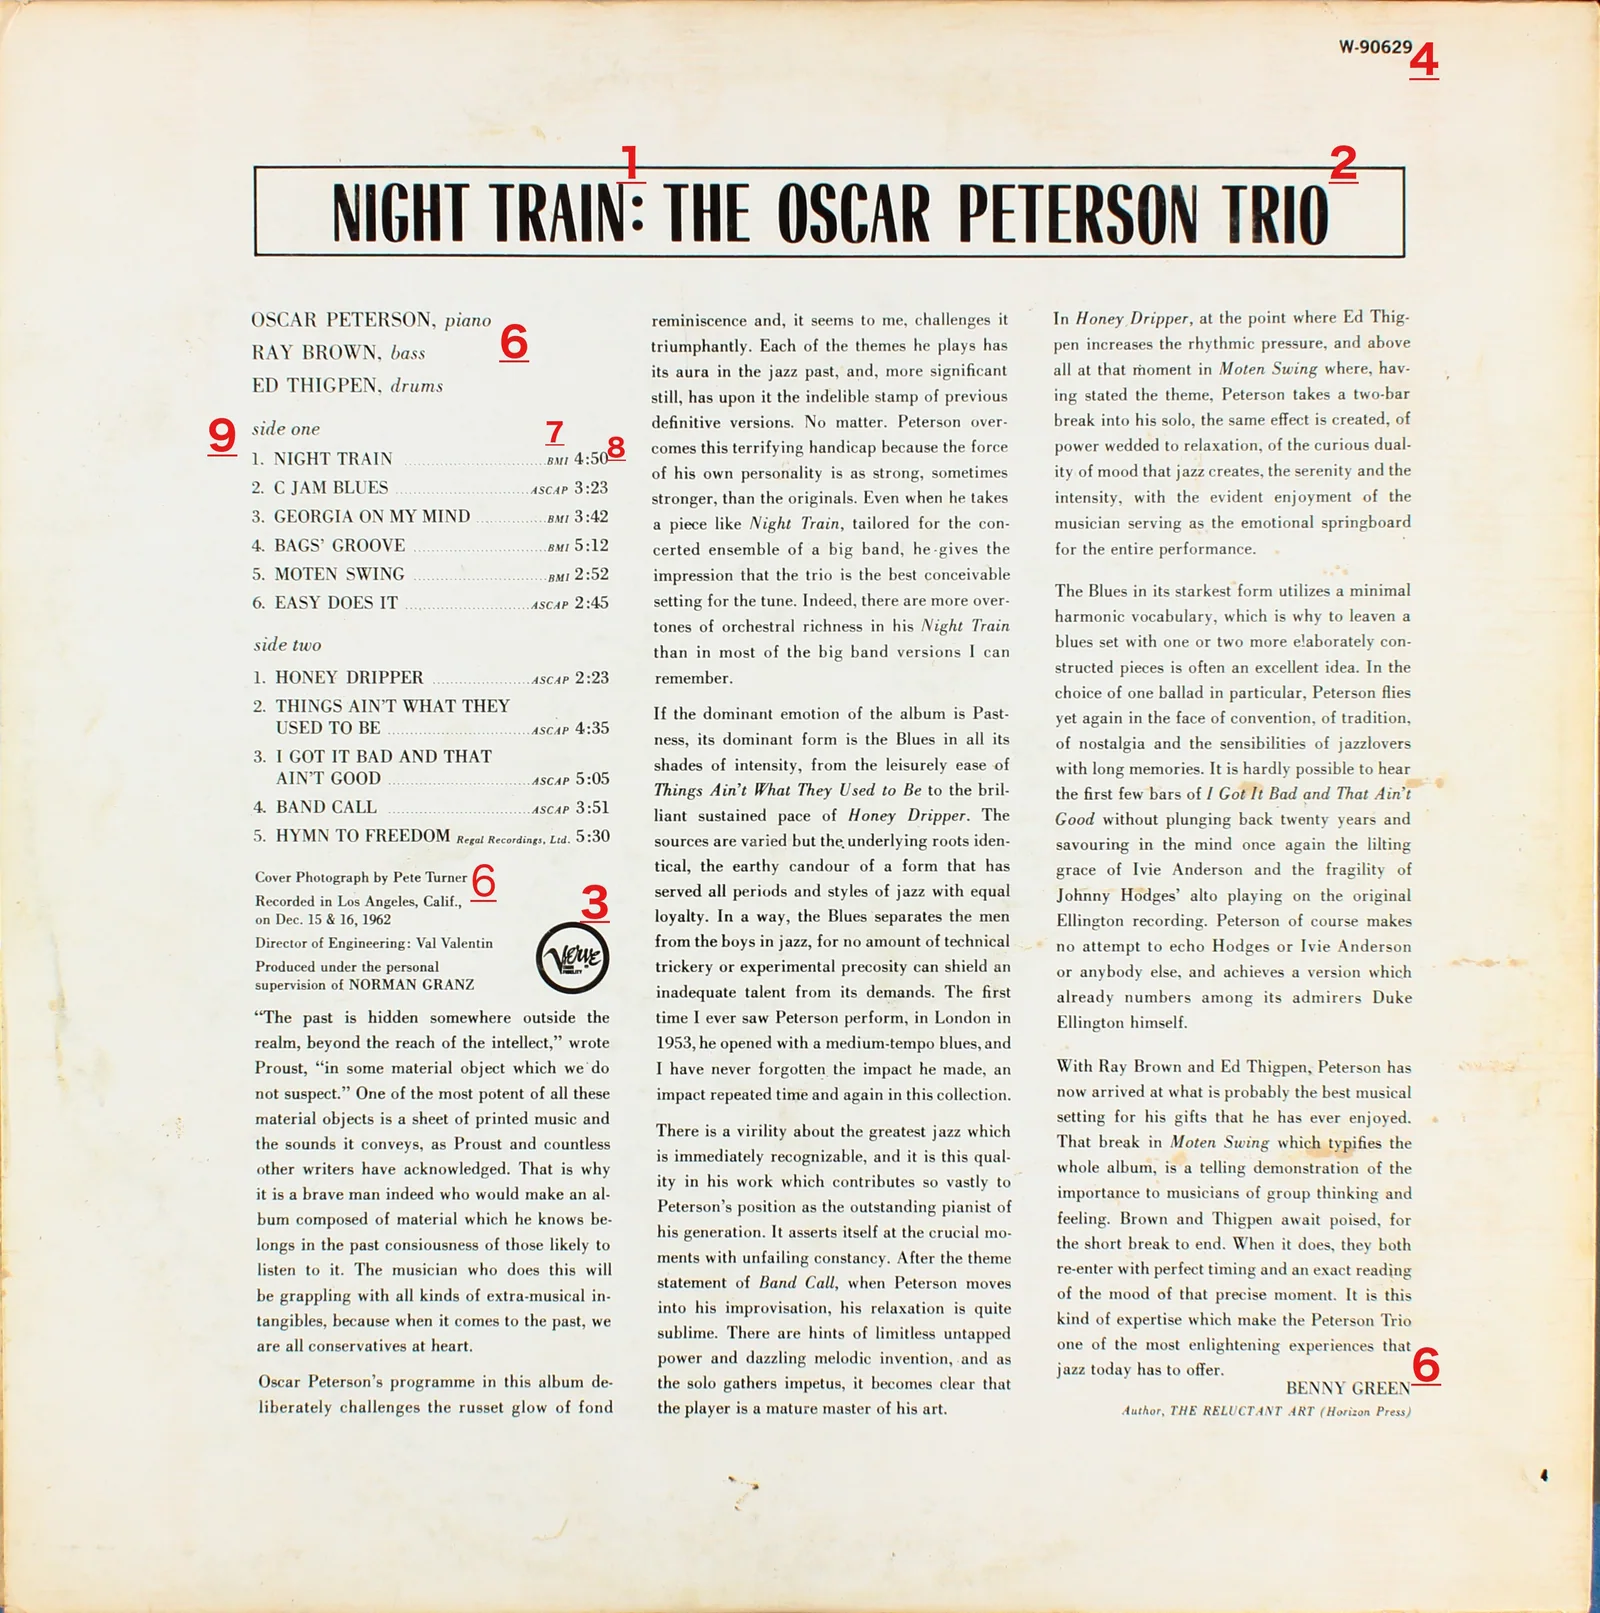
Before searching, write down the artist and title, record count, vinyl colour, label name and catalogue number. The catalogue number is the label's reference for the release. Look on the spine, back cover and centre labels; photograph each location if the numbers differ. Discogs' illustrated identification guide shows where these details can appear.
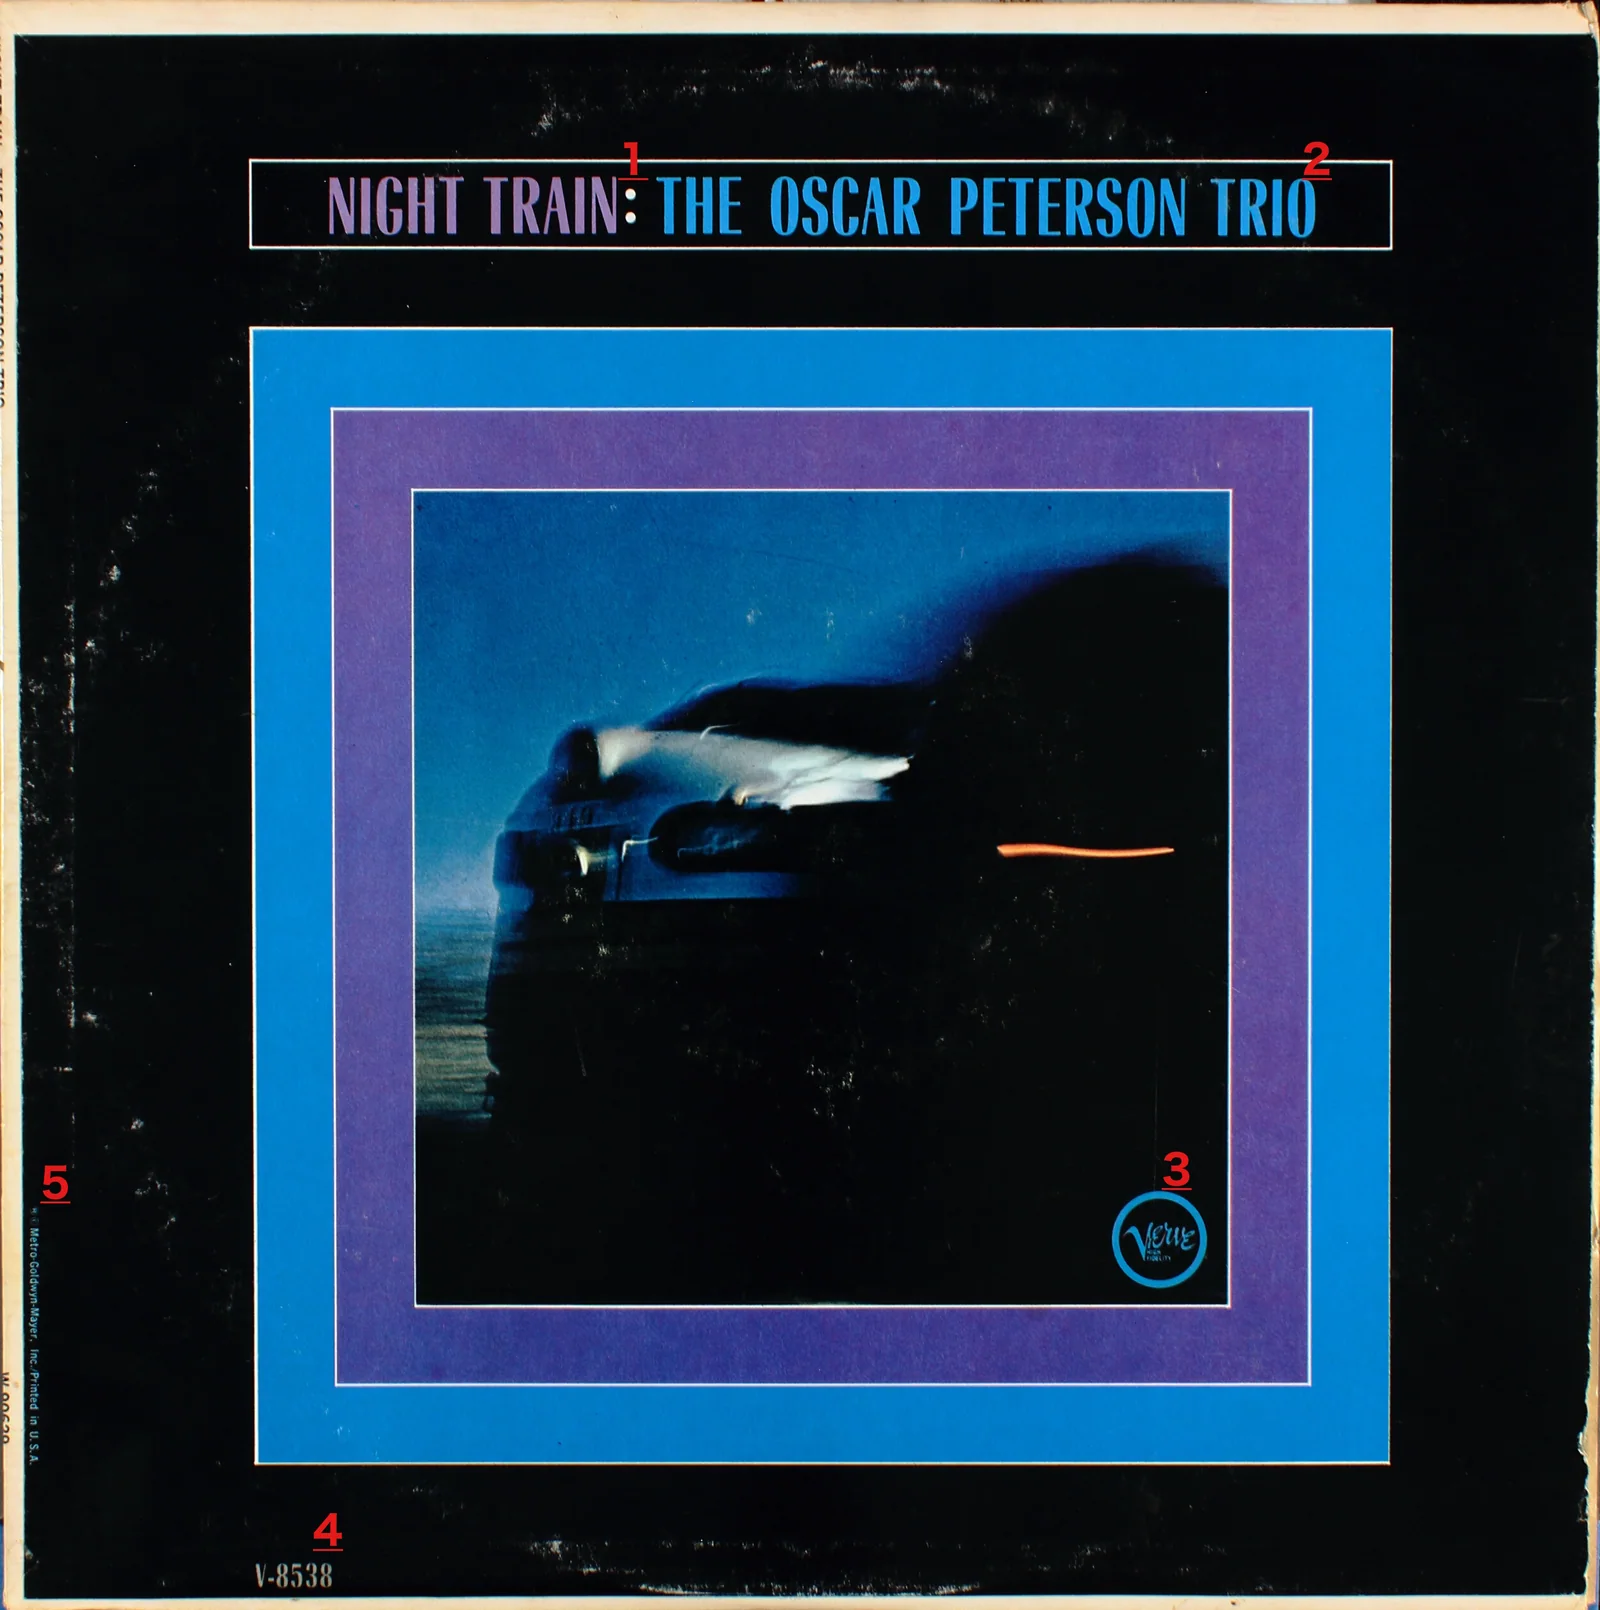
Write down what you can see before deciding what it means. “Blue label, two records, catalogue number printed on spine” gives you details to compare. “Probably an original” leaves the same work still to do.
Leave the release year open initially. A reissue can retain an older copyright date, and the date beside the ℗ symbol concerns the sound recording. Neither gives you an automatic manufacturing date for your copy. Discogs explains that distinction in its release-date guidelines.
Find candidates, then open a release page
Search Discogs using the artist and catalogue number, or try the printed barcode if there is one. If the search is crowded, restrict it to vinyl releases. If it returns nothing, start again with just the artist and title before adding more constraints. Discogs documents catalogue-number searches and other specific queries in its database search guide.
Notice which sort of page you've opened. A Discogs master release groups related versions of a title. It is useful for seeing the possibilities; it isn't a particular copy you can identify. Open an individual release from that group for its specific details. That grouping is described in the master-release guidelines.
Keep two or three plausible release pages open. Comparing a small shortlist is easier than repeatedly returning to the entire album catalogue. The oldest entry still needs to match your copy.
Eliminate the obvious mismatches
Compare each candidate against your notes. Start with differences you can settle without squinting: one disc versus two, black versus deliberately coloured vinyl, a folding gatefold sleeve versus a single pocket, or a different track sequence.
Then inspect the release images. Look at the centre-label logo, wording around the rim, catalogue-number placement and back-cover credits. Read the release notes alongside the photographs. A note describing the exact difference between two similar entries is more useful than a large image of the familiar front cover.
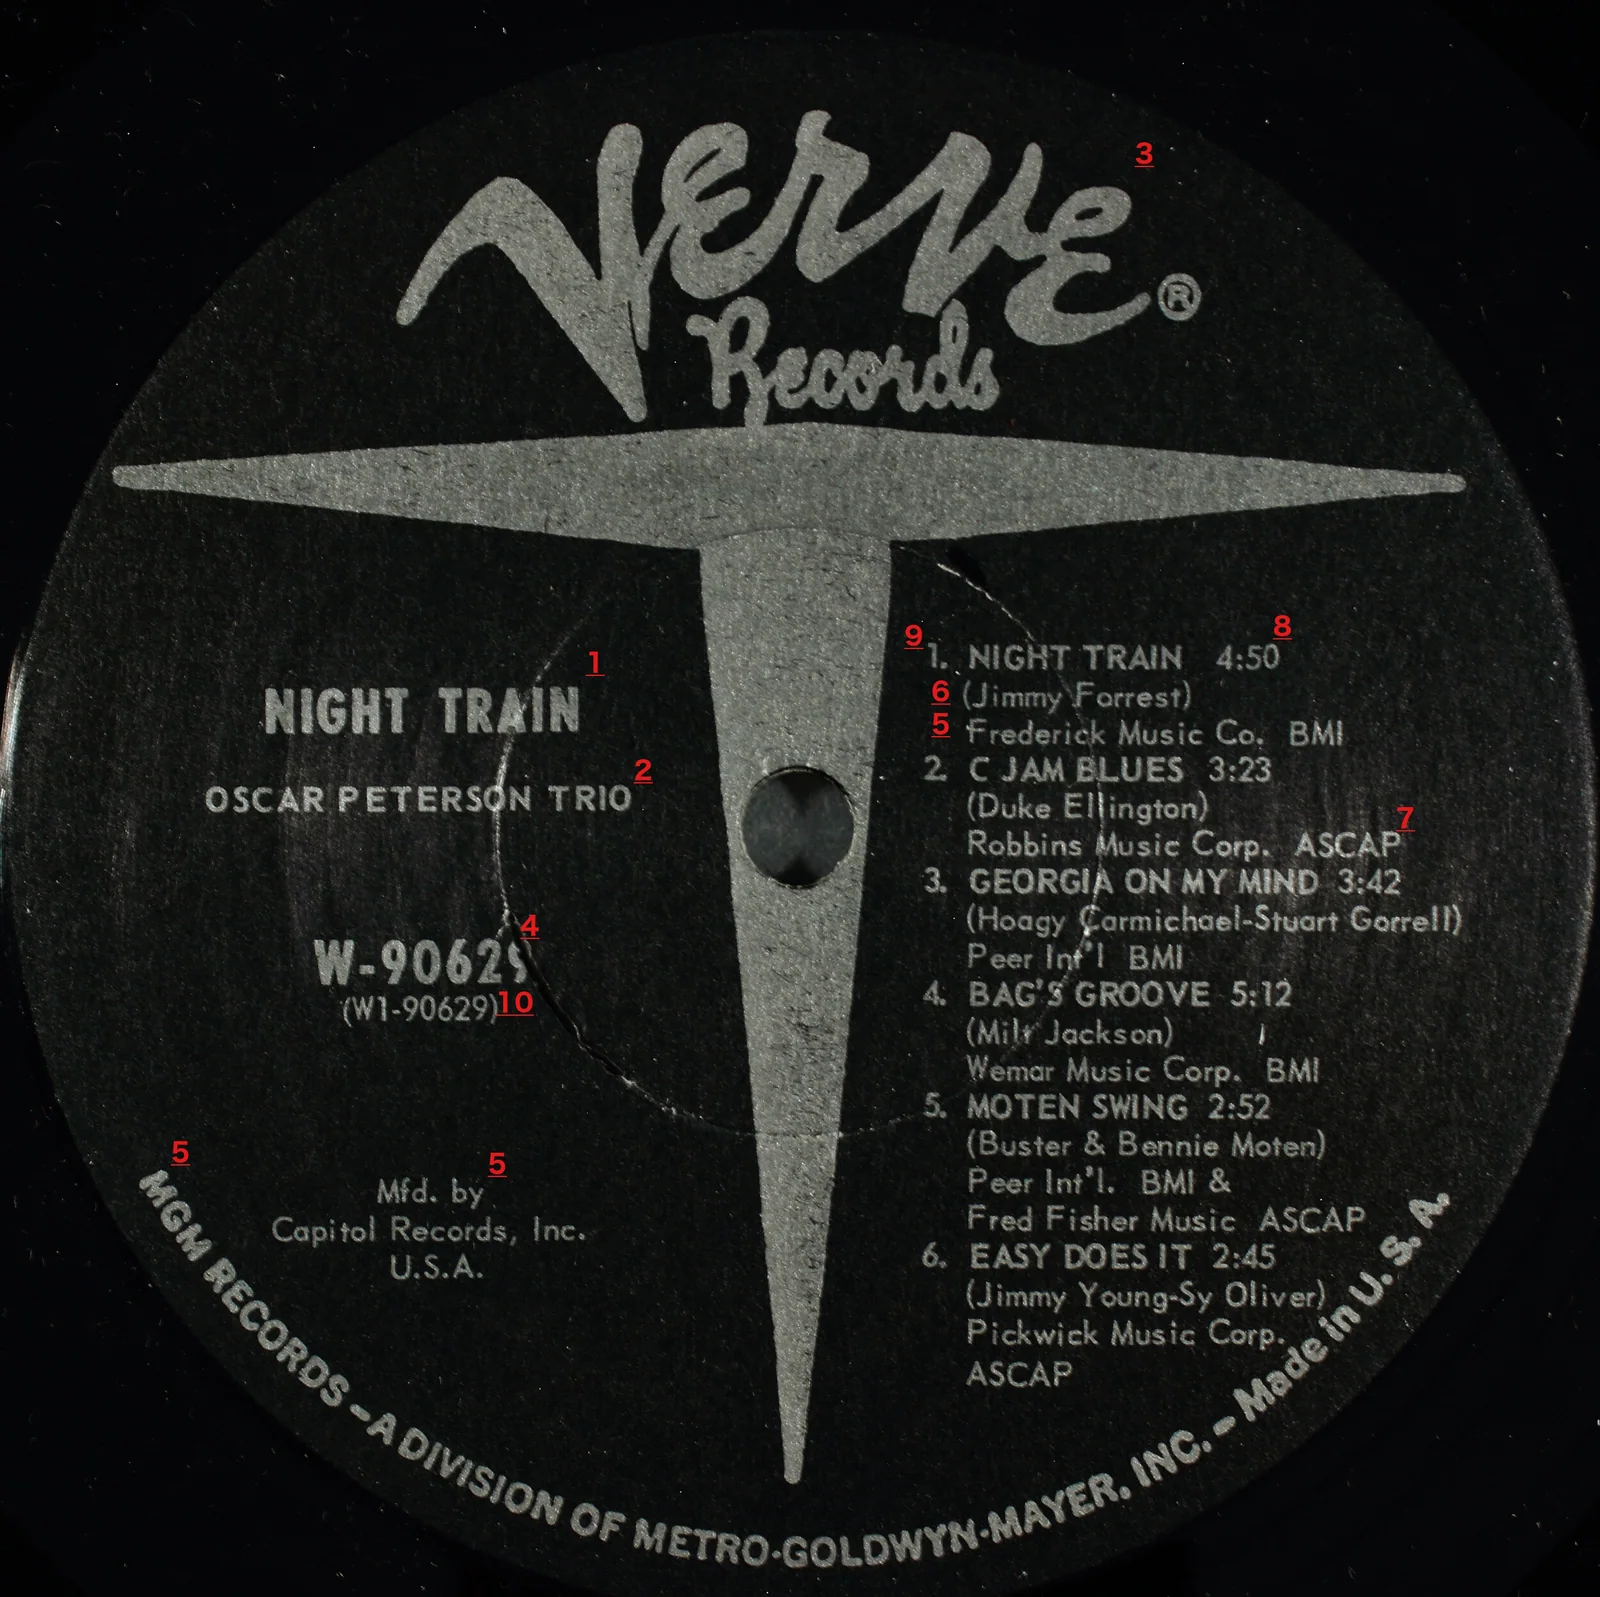
Treat each check as a reason to keep or reject a candidate. Suppose your search returns four entries: one is a CD, one has a different catalogue number, and two look right. That leaves two candidates to compare closely.
Don't apply a country filter merely because that's where you bought the record. Discogs uses country for the market where a release was distributed and sold, which can differ from its manufacturing location. Its submission help makes that distinction explicit.
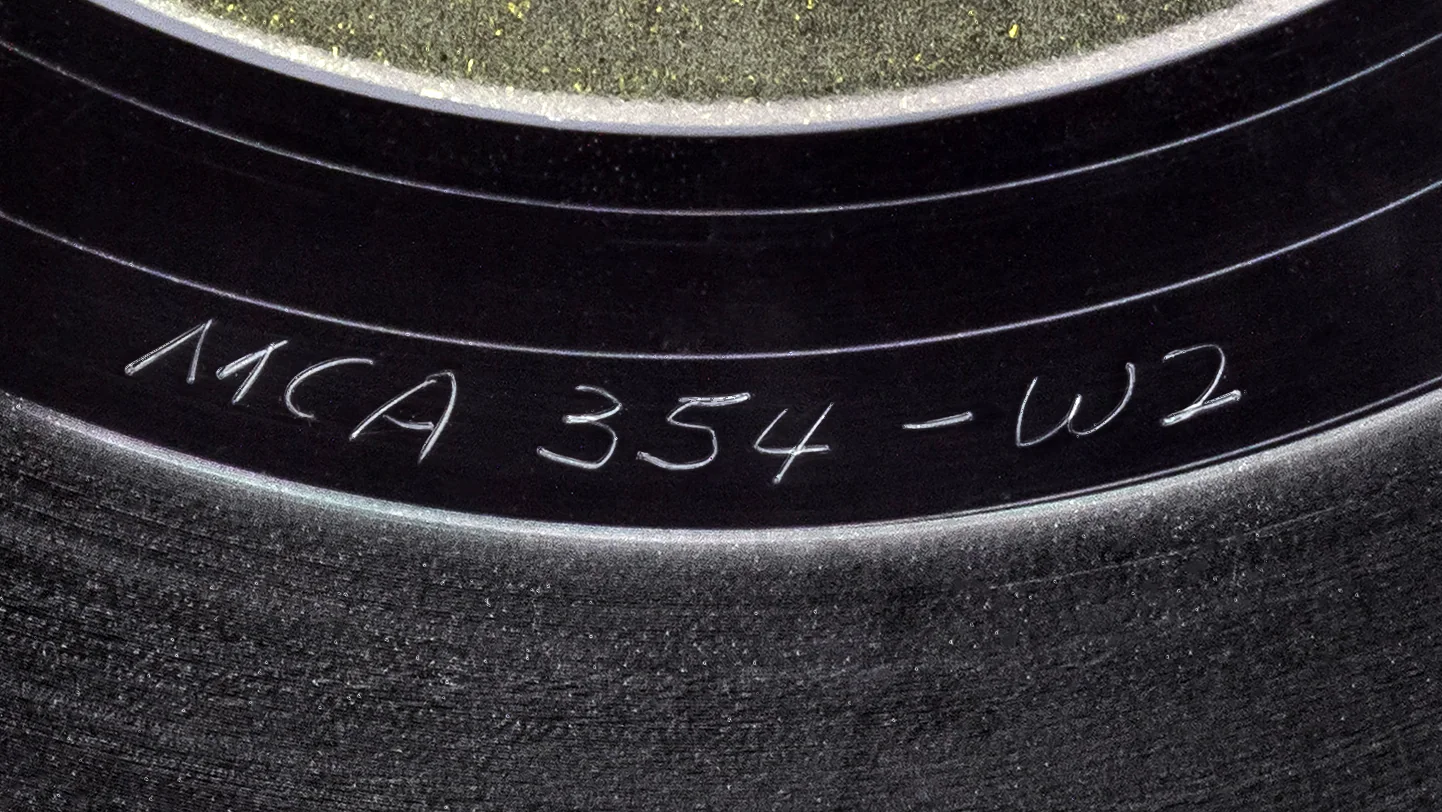

Use deadwax to check the remaining candidates
Deadwax is the area between the final music groove and the centre label. Look for the letters, numbers and symbols etched or stamped there. Record the markings from every side, keeping the sides separate. Discogs calls this information Matrix (Runout); it may include manufacturing and cutting credits. See its identifier definitions.
Compare those inscriptions with each candidate's identifiers and notes. If you're unsure how to read a tiny character or which part to search, follow the deadwax and matrix-number guide.
A useful comparison note might read: “Labels and sleeve match candidate B; both runouts match its listed variant.” A weaker one reads: “Side A looks close.” The second note tells you exactly what remains to check.
If sleeve and record evidence point in different directions, pause. Check your transcription and the images again, and consider whether the disc and sleeve belong together. Don't silently choose whichever half supports the edition you hoped to own.
Decide how certain the match is
Use three plain categories in your own notes:
- Matched: the relevant physical details agree with a specific release, including the distinctions separating it from the shortlist.
- Likely: one release fits, but a distinguishing detail is unreadable or undocumented.
- Unresolved: two or more candidates remain, or something materially contradicts the best candidate.
These are labels for your own notes. They let you distinguish a checked match from a best guess when you return to the record.
Several barcode results don't mean the search has failed. The barcode troubleshooting guide explains how to work through that particular dead end. Equally, an unlisted detail doesn't prove you have a separate release: Discogs distinguishes editions from minor manufacturing variations in its general guidelines.
Keep the evidence with the match
Save the release link, photographs and the detail that settled your choice. If the match remains uncertain, write down the missing check instead. “Need side B under better light” gives you a manageable job next time.
Once the edition is established, you can look at its sales history. Until then, a price attached to a similar cover is a price attached to somebody else's edition.